


You’ve found your dirt bike! Let’s get it across the border. A step-by-step guide, made just for you.
Step-by-Step Courtesy of You Motorcycle
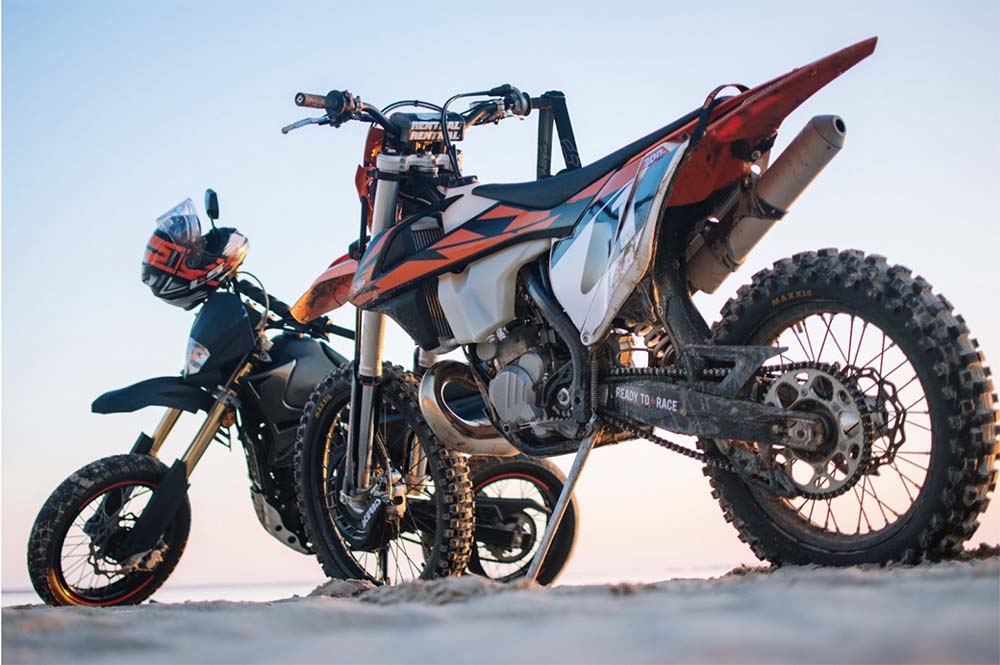
1. Make sure the motorcycle you want to import from the U.S. is even allowed in Canada
2. Know the rules to save money
Knowing how different laws will affect you importing a motorcycle to Canada from the USA is crucial, and here are two tips that can save you money:
Motorcycles that are assembled in the U.S. are exempt from duty fees at the border!
- Surprisingly most Japanese and Italian motorcycles — Honda and Ducati for example — are assembled in the U.S.
- Every state has its own tax rate, and some states have no sales tax, which can save you even more money. Oregon, Montana, New Hampshire, Alaska, and Delaware don’t have a sales tax.
3. Know what you’re getting yourself into. Be as informed as you can about your purchase. Buying from a private seller can be riskier than buying from a dealership, so make sure you get all necessary information about a motorcycle before purchasing and beware of any red flags.
4. Do the paperwork
Importing a dirt bike into Canada is all about understanding the paperwork involved and getting it done right. This is our bread and butter!
The paperwork needed to import an American motorcycle to Canada is going to take some time. Once the sale has gone through, you need at least 3 business days for the paperwork to get processed.
The pieces of paperwork needed are:
- A “Worksheet” – download a sample at the link.
You can contact the Border agency and have them send you the most current worksheet or you can find it online. OR, we can do that for you. So many options! - A bill of sale (which requires both buyer and seller to have a signature of release on the back), or if the motorcycle is a new vehicle purchase you will fax a Certificate of Origin (both sides). Double check that the paperwork is completed properly or it could cost you more time!
- Recall clearance document. This document is a formal letter with a company letterhead that is signed or stamped, stating that the motorcycle has cleared the factory safety recalls and that all recall work has been performed. Basically, it’s an authorized dealership of the manufacturer you’re buying from. Example: an authorized Harley-Davidson dealer saying that your Harley-Davidson has no outstanding safety recalls, and that any recalls that were ever issued on this motorcycle were already solved.
- Dealers must provide at least a screenshot printout from the motorcycle manufacturer service computer system, showing the VIN number, make, model, recall clearance and marked with ‘Yes’ or ‘No’ for work completion.
- Note this information is only important for after you’ve crossed back over into Canada
- After the 72 hours your paperwork takes to clear, you can call the border crossing to determine the status of your paperwork. This is an important step because if your paperwork was incomplete you will need to re-submit the paperwork. That means waiting an additional 72 hours to be cleared before you can move forward. Let BorderBuddy deal with all of this for you! That’s what we’re here for.
5. Get insurance (if riding it)- Step 5 is about helping you get your motorcycle moving legally. If you’re transporting your new motorcycle on a trailer or on a pick-up truck, you will not need insurance on your new motorcycle until you’ve crossed the border. No one checks for insurance at the border.
6. Transporting your motorcycle (if not riding)
Whether you buy from a dealership or a private seller you must have the original title (Ownership) and a bill of sale. Have the seller fill out the transfer of ownership sections on the back of the title/ownership paper.
If you’re purchasing from a dealership, make sure you also have an original receipt with a cost breakdown. The breakdown should show how much of the total was for the motorcycle, parts, freight, PDI, etc.
7. Crossing the border – you definitely want BorderBuddy for this part! On the U.S. side of the border, you’re required to have:
- Motorcycle
- Bill of sale (a.k.a. Certificate of origin)
- Original receipt with cost breakdown (if buying from a dealer)
- Valid passport and photo identification
8. Getting your dirt bike home.
The last step in importing a motorcycle to Canada is what you need to do when you get into Canada. First things first: send out your Form 1 paperwork, including the factory recall clearance letter you should have obtained. These must be sent to RIV Canada before you can proceed. Unfortunately RIV Canada can take up to a week to send you your Form 2 paperwork so you’ll have to make some follow up calls or check the status online. BorderBuddy can manage that for you.
FINALLY, it’s time to register your motorcycle with the ministry. You’ll need to gather your Form 2, bill of sale (or certificate of origin if it’s a new bike), ID, and any other paperwork your local Service Canada requests to complete the registration of your motorcycle.
Let’s choose a dirt bike!
And now, it’s time to start browsing! Most people buy from private sellers on Facebook Marketplace or eBay. AutoTrader is a trusted source and also sells dirtbikes and motorcycles, so it’s worth a perusal. Here are some additional resources for you, and if at any point you find yourself with questions, worries, or want an unbiased opinion on deciding between the bikes of your dreams, BorderBuddy is here to listen and chat, anytime!